备注
Go to the end 下载完整示例代码.
矢量图形的栅格化#
栅格化将矢量图形转换为栅格图像(像素).它可以加快渲染速度,并为大型数据集生成更小的文件,但代价是固定分辨率.
是否应使用栅格化可以按艺术家指定.这对于减小大型艺术家的文件大小非常有用,同时保持矢量图形对于其他艺术家(例如 Axes 和文本)的优势.例如,复杂的 pcolormesh 或 contourf 可以通过栅格化而变得非常简单.设置栅格化只会影响矢量后端,例如 PDF,SVG 或 PS.
默认情况下禁用栅格化.有两种方法可以启用它,也可以组合使用:
在单个艺术家上设置
set_rasterized,或者在创建艺术家时使用关键字参数 rasterized.设置
Axes.set_rasterization_zorder以栅格化所有 zorder 小于给定值的艺术家.
栅格化艺术家的存储大小和分辨率由其物理大小和传递给 savefig 的 dpi 参数的值决定.
备注
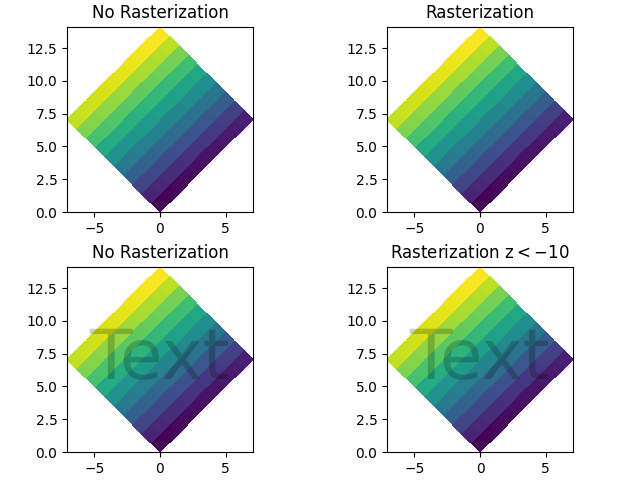
此示例的图像显示在 HTML 文档中不是矢量图形.因此,它无法说明栅格化效果.请在本地运行此示例并检查生成的图形文件.
import matplotlib.pyplot as plt
import numpy as np

d = np.arange(100).reshape(10, 10)  # the values to be color-mapped
x, y = np.meshgrid(np.arange(11), np.arange(11))

theta = 0.25*np.pi
xx = x*np.cos(theta) - y*np.sin(theta)  # rotate x by -theta
yy = x*np.sin(theta) + y*np.cos(theta)  # rotate y by -theta

fig, ((ax1, ax2), (ax3, ax4)) = plt.subplots(2, 2, layout="constrained")

# pcolormesh without rasterization
ax1.set_aspect(1)
ax1.pcolormesh(xx, yy, d)
ax1.set_title("No Rasterization")

# pcolormesh with rasterization; enabled by keyword argument
ax2.set_aspect(1)
ax2.set_title("Rasterization")
ax2.pcolormesh(xx, yy, d, rasterized=True)

# pcolormesh with an overlaid text without rasterization
ax3.set_aspect(1)
ax3.pcolormesh(xx, yy, d)
ax3.text(0.5, 0.5, "Text", alpha=0.2,
         va="center", ha="center", size=50, transform=ax3.transAxes)
ax3.set_title("No Rasterization")

# pcolormesh with an overlaid text without rasterization; enabled by zorder.
# Setting the rasterization zorder threshold to 0 and a negative zorder on the
# pcolormesh rasterizes it. All artists have a non-negative zorder by default,
# so they (e.g. the text here) are not affected.
ax4.set_aspect(1)
m = ax4.pcolormesh(xx, yy, d, zorder=-10)
ax4.text(0.5, 0.5, "Text", alpha=0.2,
         va="center", ha="center", size=50, transform=ax4.transAxes)
ax4.set_rasterization_zorder(0)
ax4.set_title("Rasterization z$<-10$")

# Save files in pdf and eps format
plt.savefig("test_rasterization.pdf", dpi=150)
plt.savefig("test_rasterization.eps", dpi=150)

if not plt.rcParams["text.usetex"]:
    plt.savefig("test_rasterization.svg", dpi=150)
    # svg backend currently ignores the dpi
The PostScript backend does not support transparency; partially transparent artists will be rendered opaque.
参考
以下函数,方法,类和模块的用法在本例中显示:
matplotlib.artist.Artist.set_rasterizedmatplotlib.axes.Axes.set_rasterization_zordermatplotlib.axes.Axes.pcolormesh/matplotlib.pyplot.pcolormesh
脚本的总运行时间:(0 分钟 2.770 秒)